- 1. Documentation
- 2. Documentation
-
3. JS Jobs
- Basics
- Configurations
- Company
- Job
- Resume
- Job Apply
- Credit System
- Credits Log
- Credits Pack
- Purchase History
- Login & Register
- Applied Resume
- Fields
- Custom Fields
- Message System
- Categories
- Data Dictionary
- Users
- Salary
- System Emails
- Address
- Tags
- Reports
- Shortcodes & Widgets
- Job Alert
- Department
- Cover Letter
- Folder
- JS Jobs RSS
- Translations
- Miscellaneous
- Slug
- Errors
-
4. JS Support Ticket
- Basics
- Configurations
- Ticket Via Email
- Tickets
- Staff Member
- Departments
- Knowledge Base
- Downloads
- Announcements
- FAQ's
- Roles
- Priorities
- Categories
- Premade Messages
- Help Topics
- Field Ordering
- Feedback Fields
- Export
- Feedbacks
- Reports
- Miscellaneous
- Support Area
- Breadcrumbs
- Permissions
- Time Track
- Push Notifications
- 5. Jobi
-
6. JS Car Manager
- Basics
- Settings And Customization
- Vehicle
- Credit system
- Credits Log
- Credits Pack
- Purchase History
- Login & Register
- Fields
- Custom fields
- Make And Model
- Data Dictionary
- Users
- System Emails
- Address
- Reports & Stats
- Visual Composer
- Vehicle Alert
- JS Car Manager RSS
- Translations
- Miscellaneous
-
7. JS Job Manager
-
Basics
- Installation
- Job Manager Admin Dashboard
- Job Manager Home Page
- Custom Homepage & Widgets
-
Homepage & Widgets
- Job Manager Pages
- Job Search
- Jobs By Category
- Latest And Featured Jobs
- Count Box
- Latest Resume
- Pricing Tables
- Latest News And Blogs
- Testimonials
- Companies
- Job Manager Info Text
- Newest Jobs
- 4 Box Style For Job Category
- 3 Box Style For Featured Box
- Job Manager Link With Counter
- Google Map
- Image & Text
- Search With Categories
- Team Members
- News & Rumors
- Price Tables
- Team Members
- Testimonial
- System Requirements
- Uninstall
- Theme Sample Data
- Theme Options
- Configurations
- Company
- Job
- Resume
- Job Apply
- Credit System
- Credits Log
- Credits Pack
- Purchase History
- Login & Register
- Applied Resume
- Fields
- Add Fields
- Message System
- Categories
- Data Dictionary
- Users
- Salary
- System Emails
- Address
- Tags
- Reports
- Shortcodes & Widgets
- Job Alert
- Department
- Cover Letter
- Folder
- Job RSS
- Update
- Translations
- Miscellaneous
- Slug
-
Basics
-
8. JS Learn Manager
- Basics
- Configurations
- Admin Side
- Courses
- Course Fields
- Course Level
- Course Language
- Lecture Fields
- Earning
- Payouts
- System Errors
- Login & Register
- Messages
- Payment Plans
- Category
- Email Templates
- Reports
- Awards
- Activity Log
- Users
- User Fields
- Instructors
- Students
- Country
- Shortcodes
- Instructor Side
- Courses
- Instructor Dashboard
- My Profile
- Edit Profile
- Instructor Message
- Student Side
- Courses
- Student Dashboard
- My Profile
- Edit Profile
- Student Message
- Course RSS
- Slug
- Update
- Miscellaneous
Clear History
Installation
JS Job Manager Installation
Jobs Manager can be easily install from wordpress themes page step by step installation of
Job Manager is given below.
Step 01:
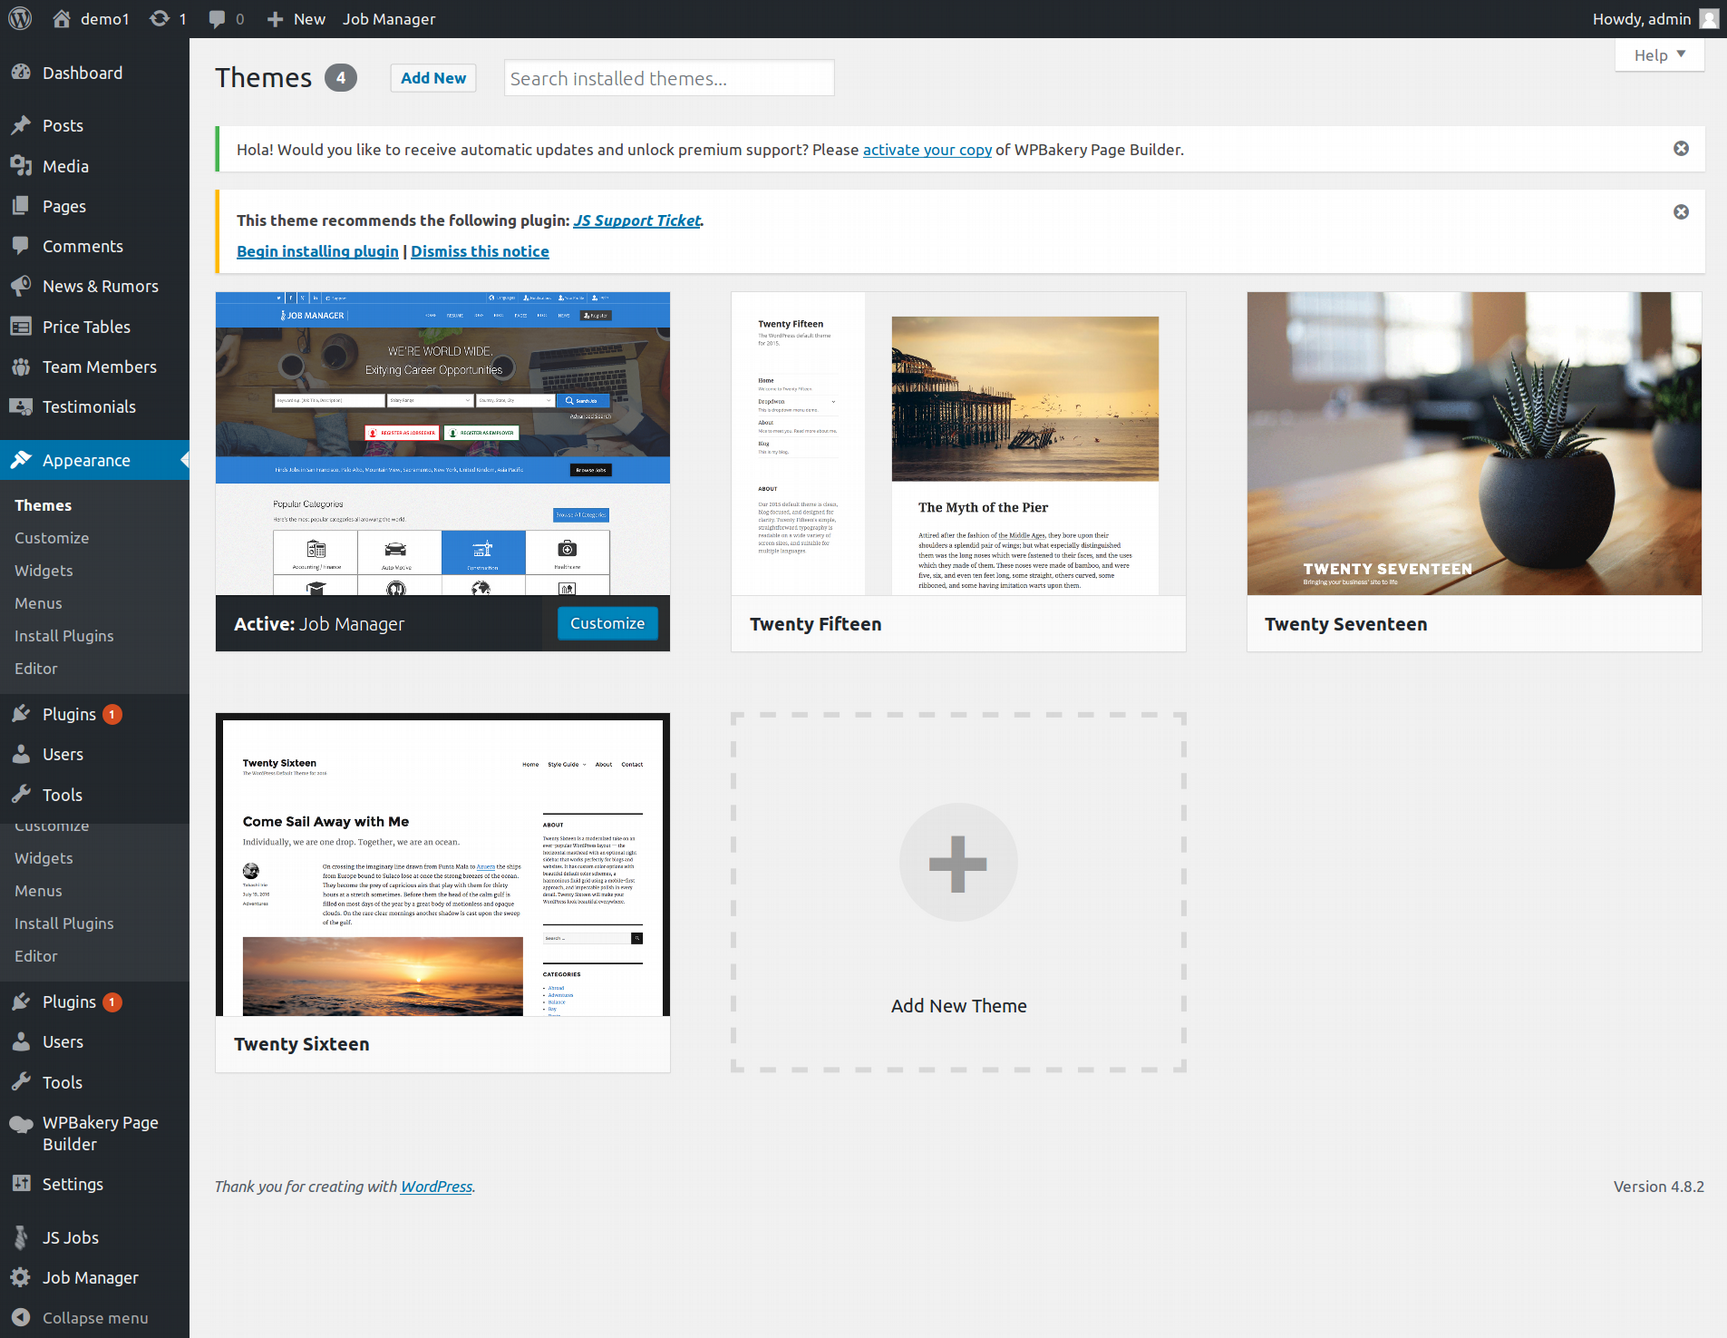
Step 02:
In wordpress left menu bar, go to appearance, then click on themes, the required page will be
open. Click on add new theme, click on upload theme, and browse from designated directory of
your system.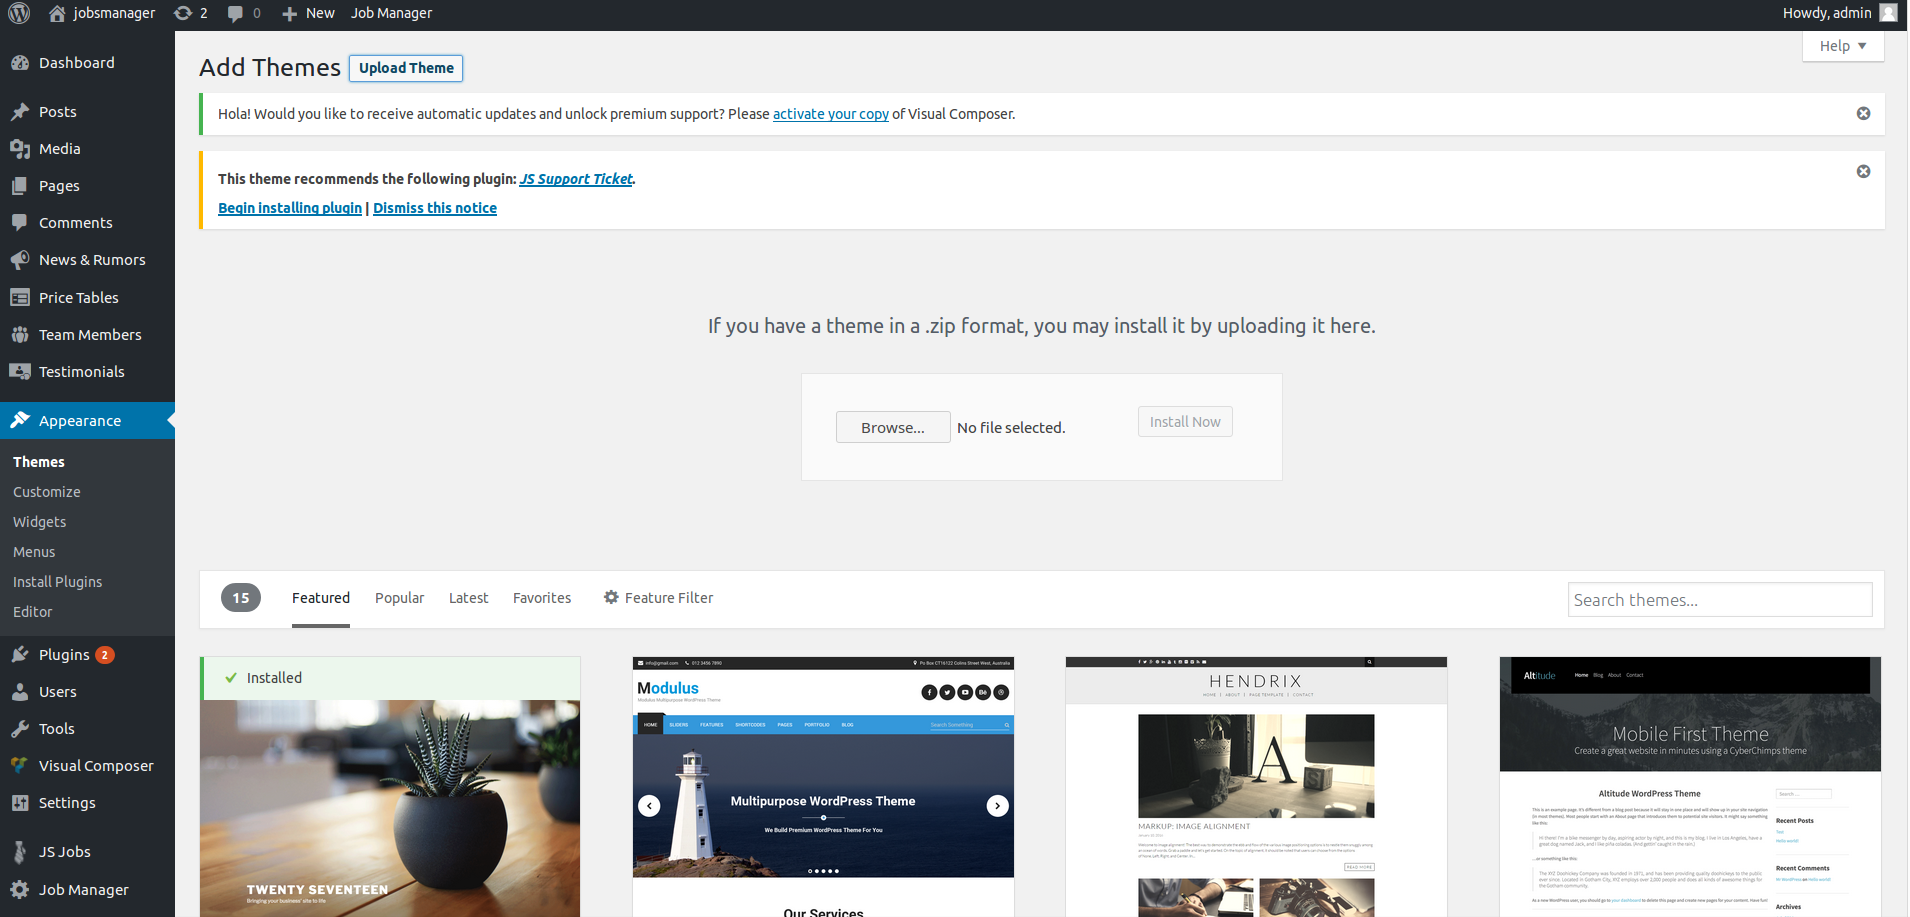
Step 03:
After successfully installation of Job Manager, some of the options will be shown on top of the
page.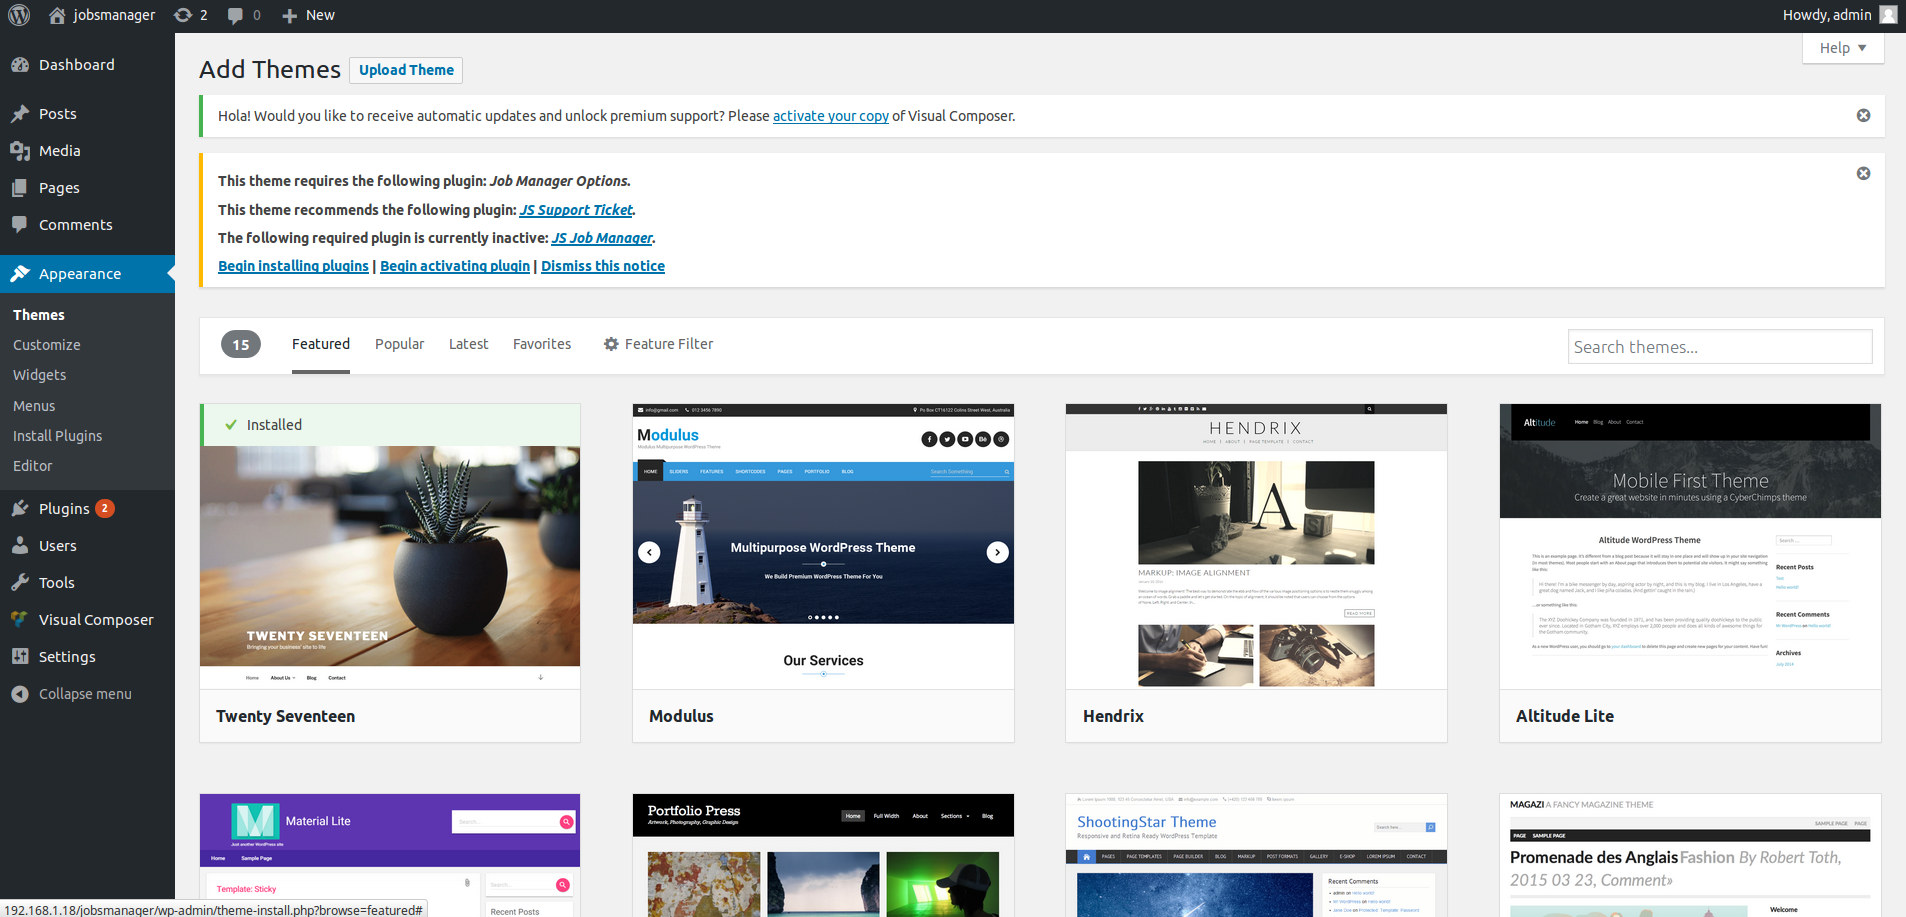
Step 04:
After getting this options, go to to the begin installing plugin, it will grab you to that page
where required plugin must be install.
Step 05:
In this page, tick on all required plugin and select install option from bulk actions and
apply.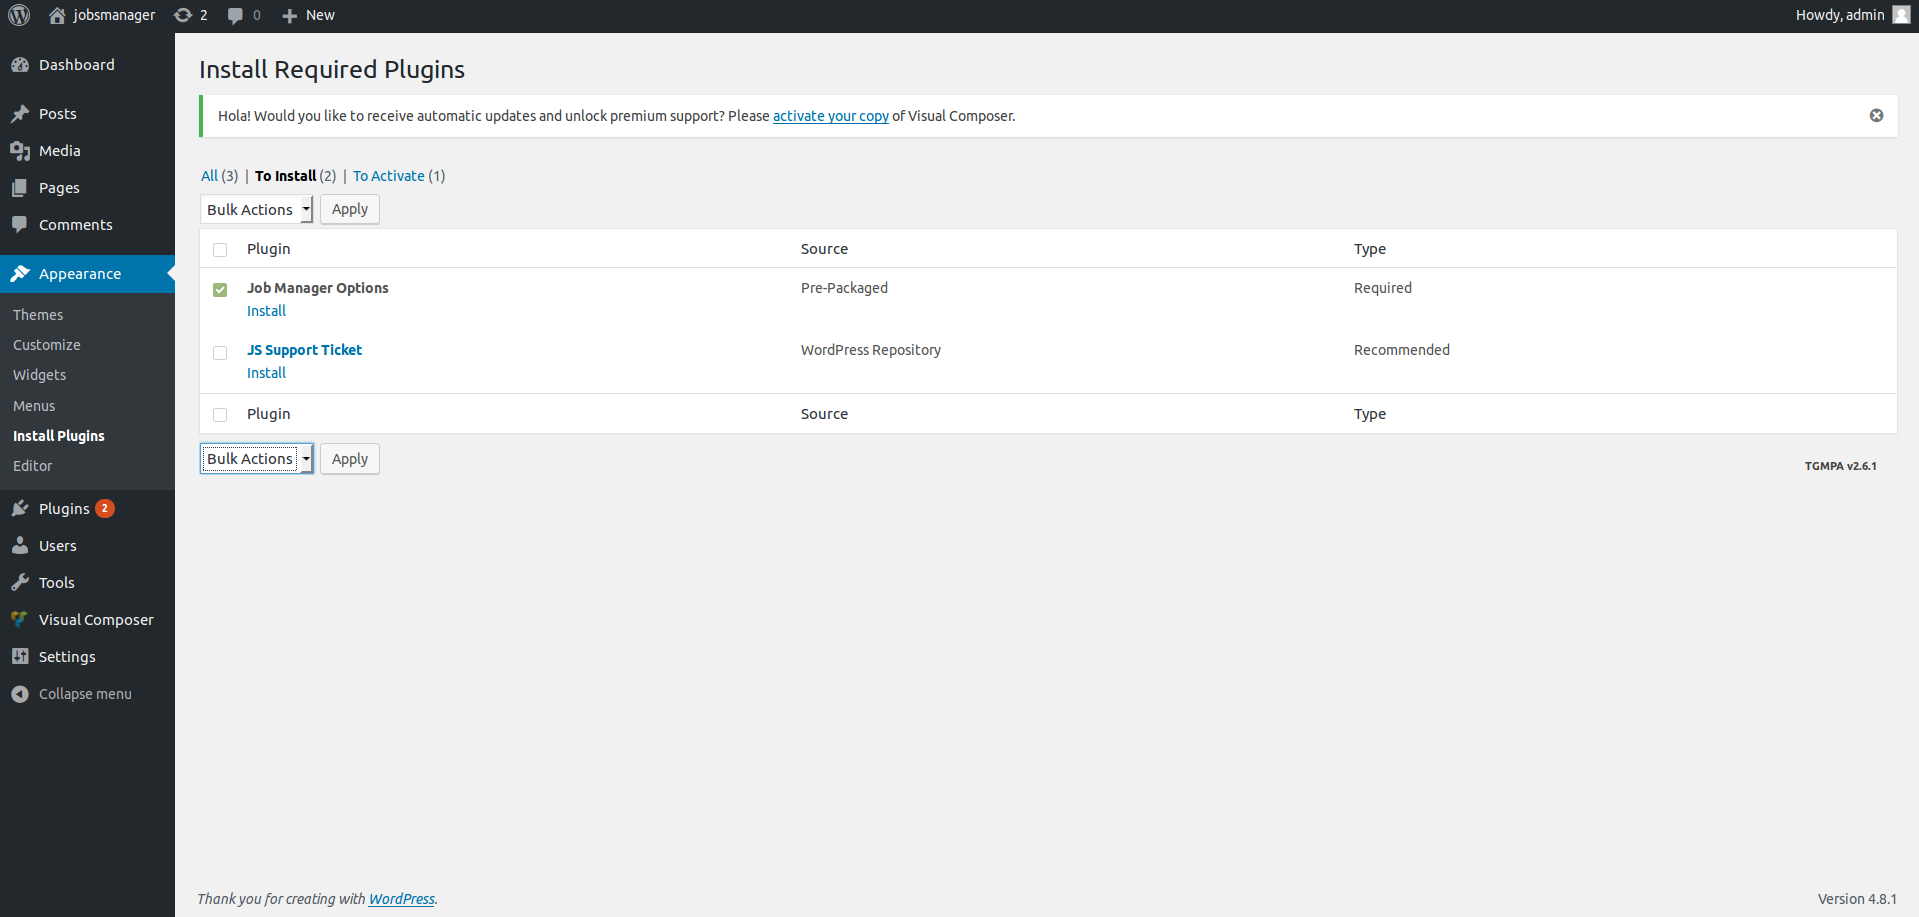
Step 06:
The required plugin got installed and there is link shown to redirect you to the next page.
Click on the link.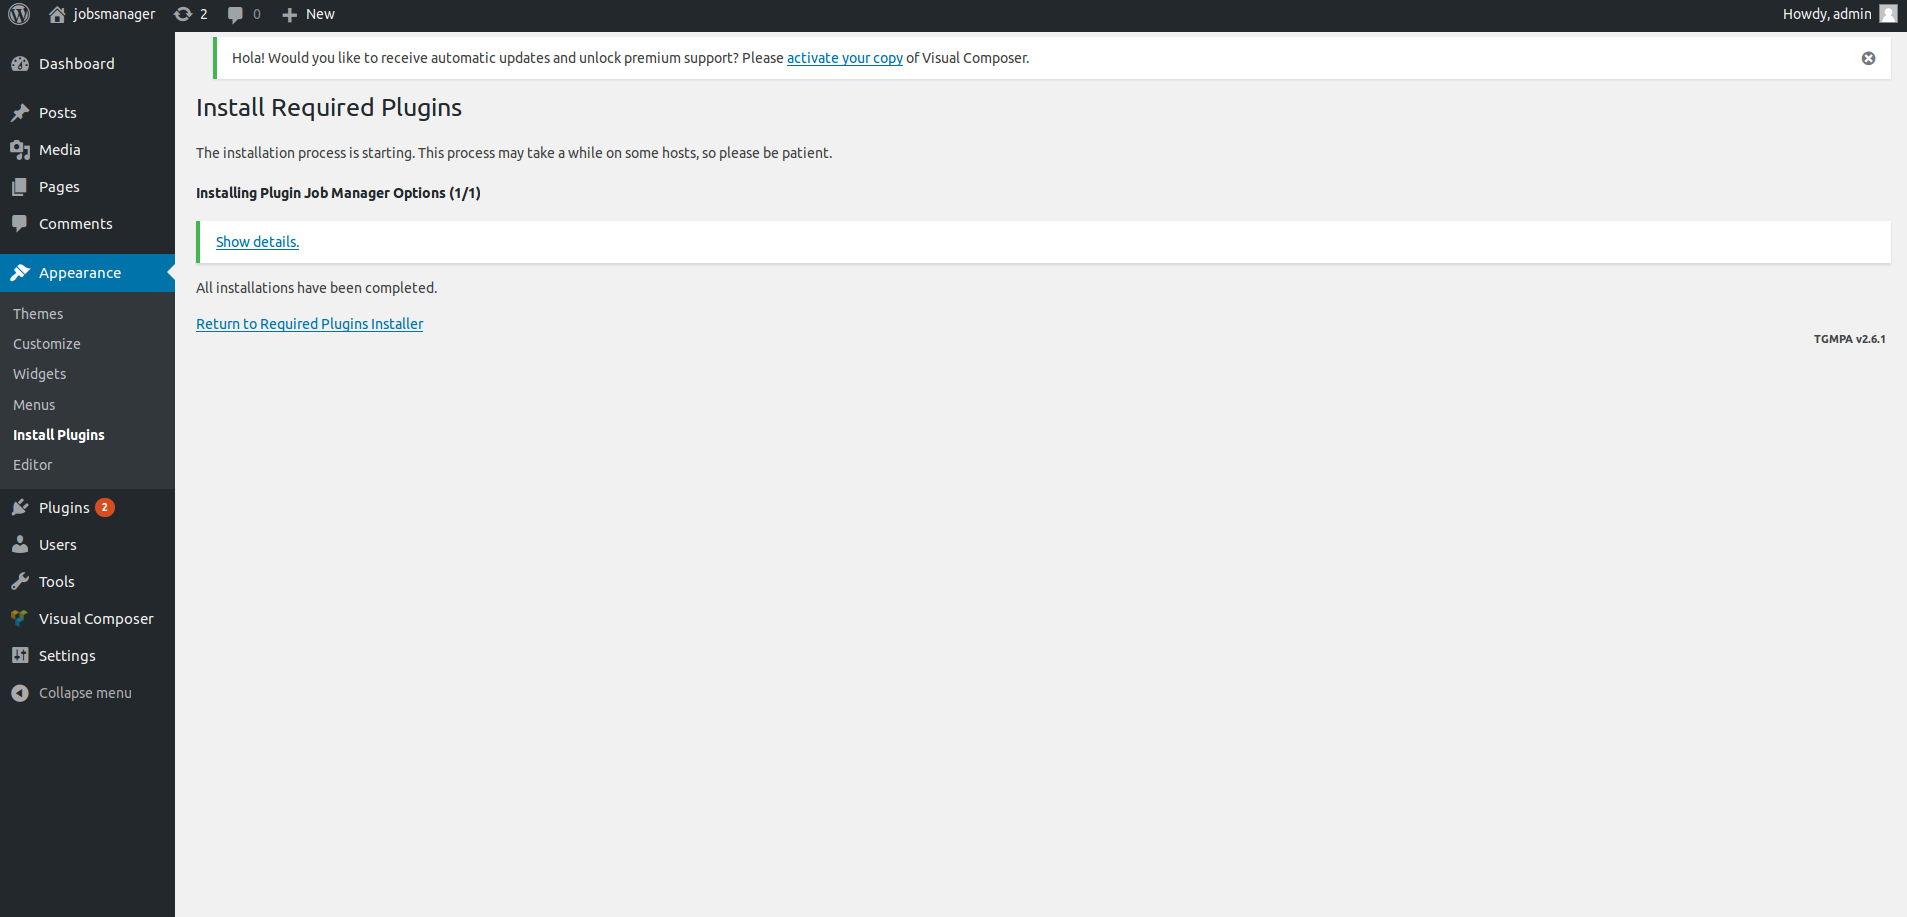
Step 07:
Now activate the required plugin on clicking on activate option for each and get started.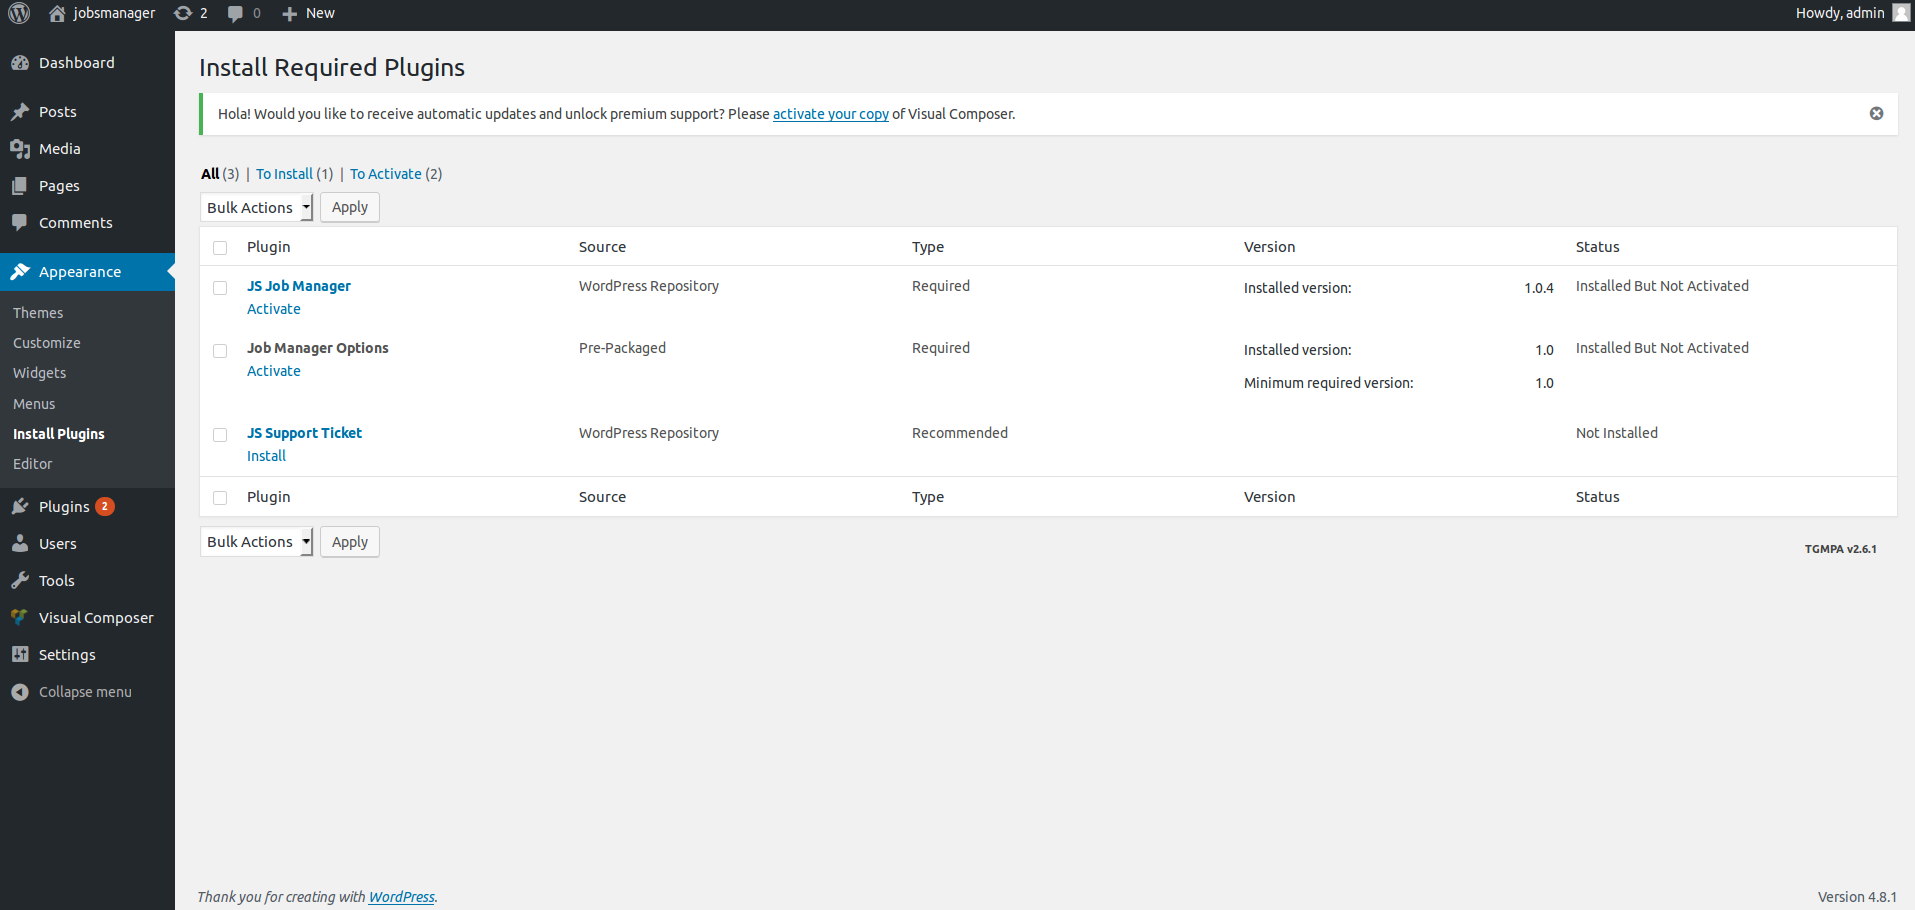
Step 08:
After activating all the required plugin, you will get on this page, click on next button shown
in bottom of the page.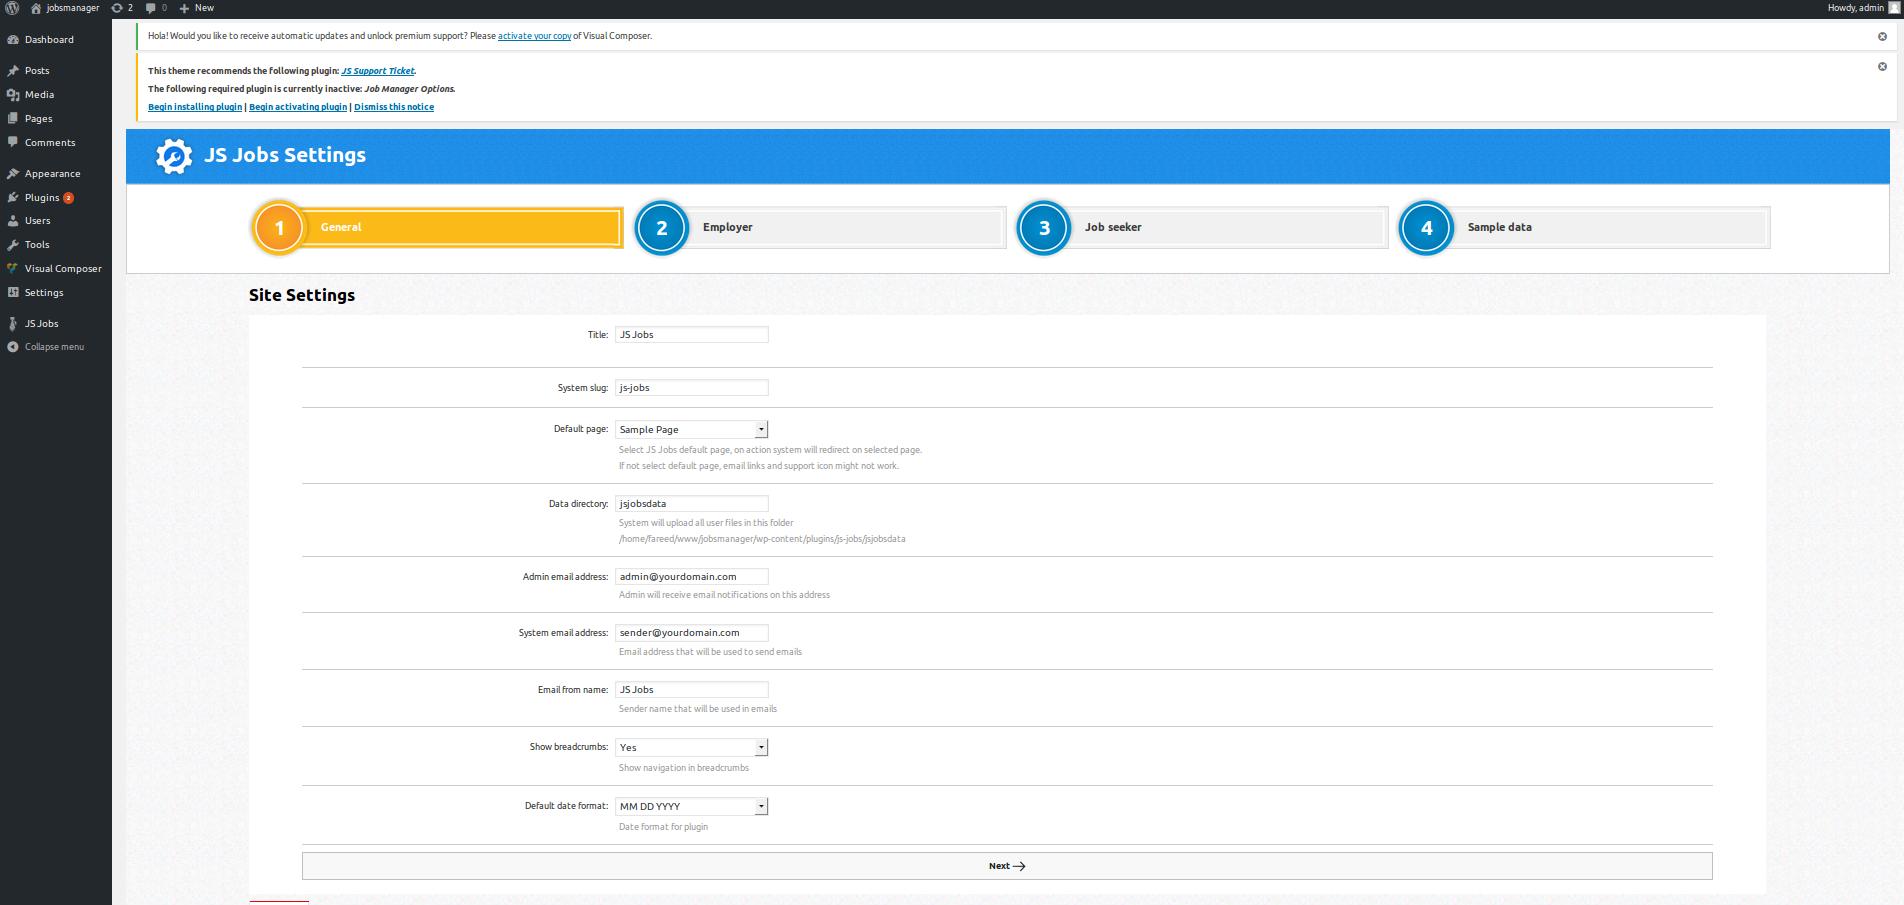
Step 09:
The next page will display after clicking on next, repeat the same action for this page. Click
on next button again.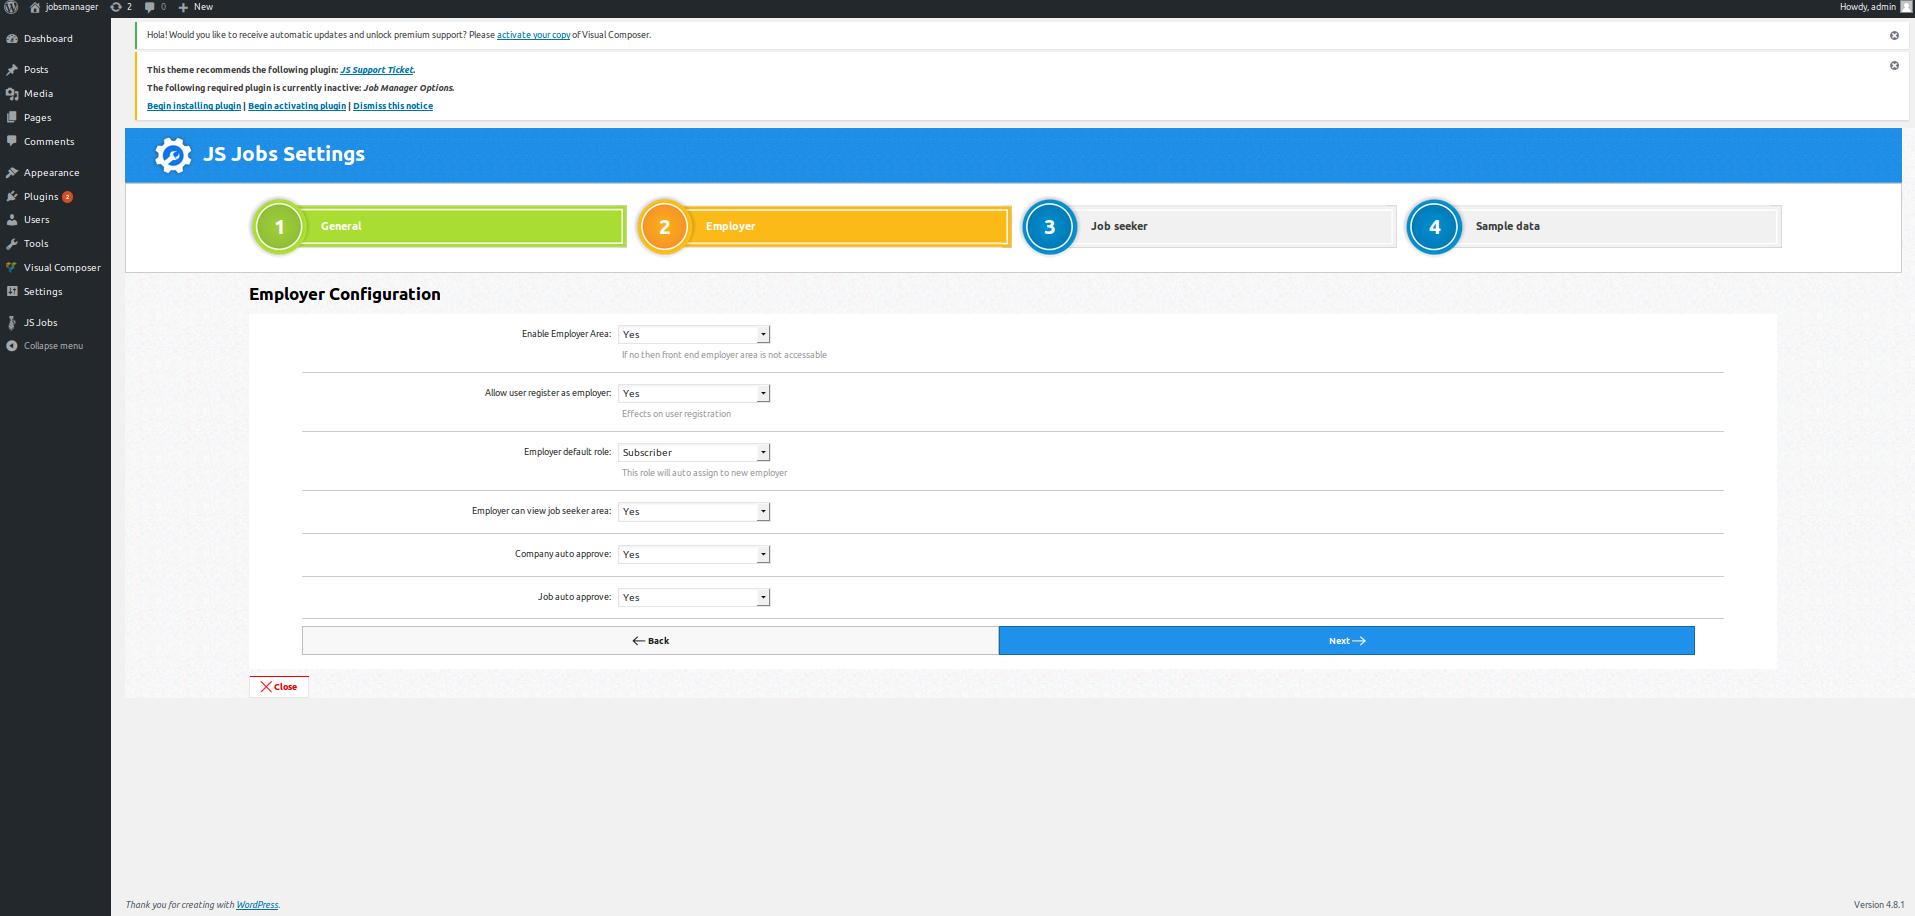
Step 10:
The next page will display after clicking on next, repeat the same action for this page. Click
on next button again.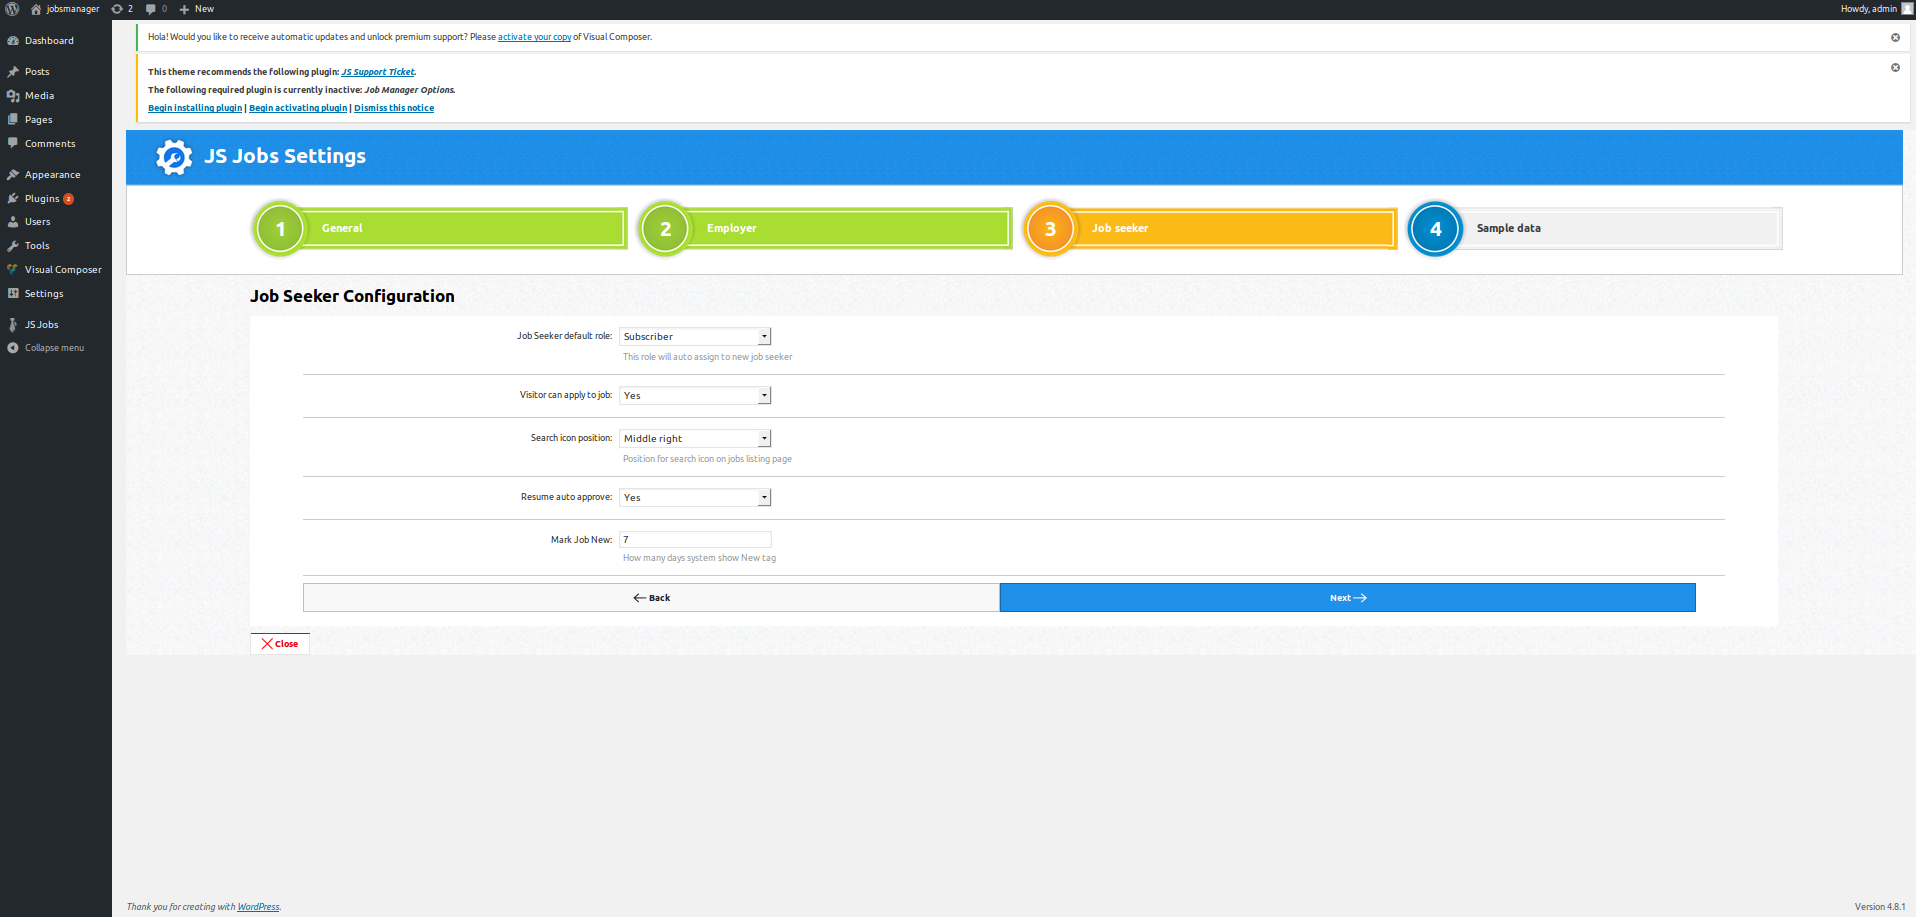
Step 11:
The next page will display after clicking on next, click on finish button and then move to home
page.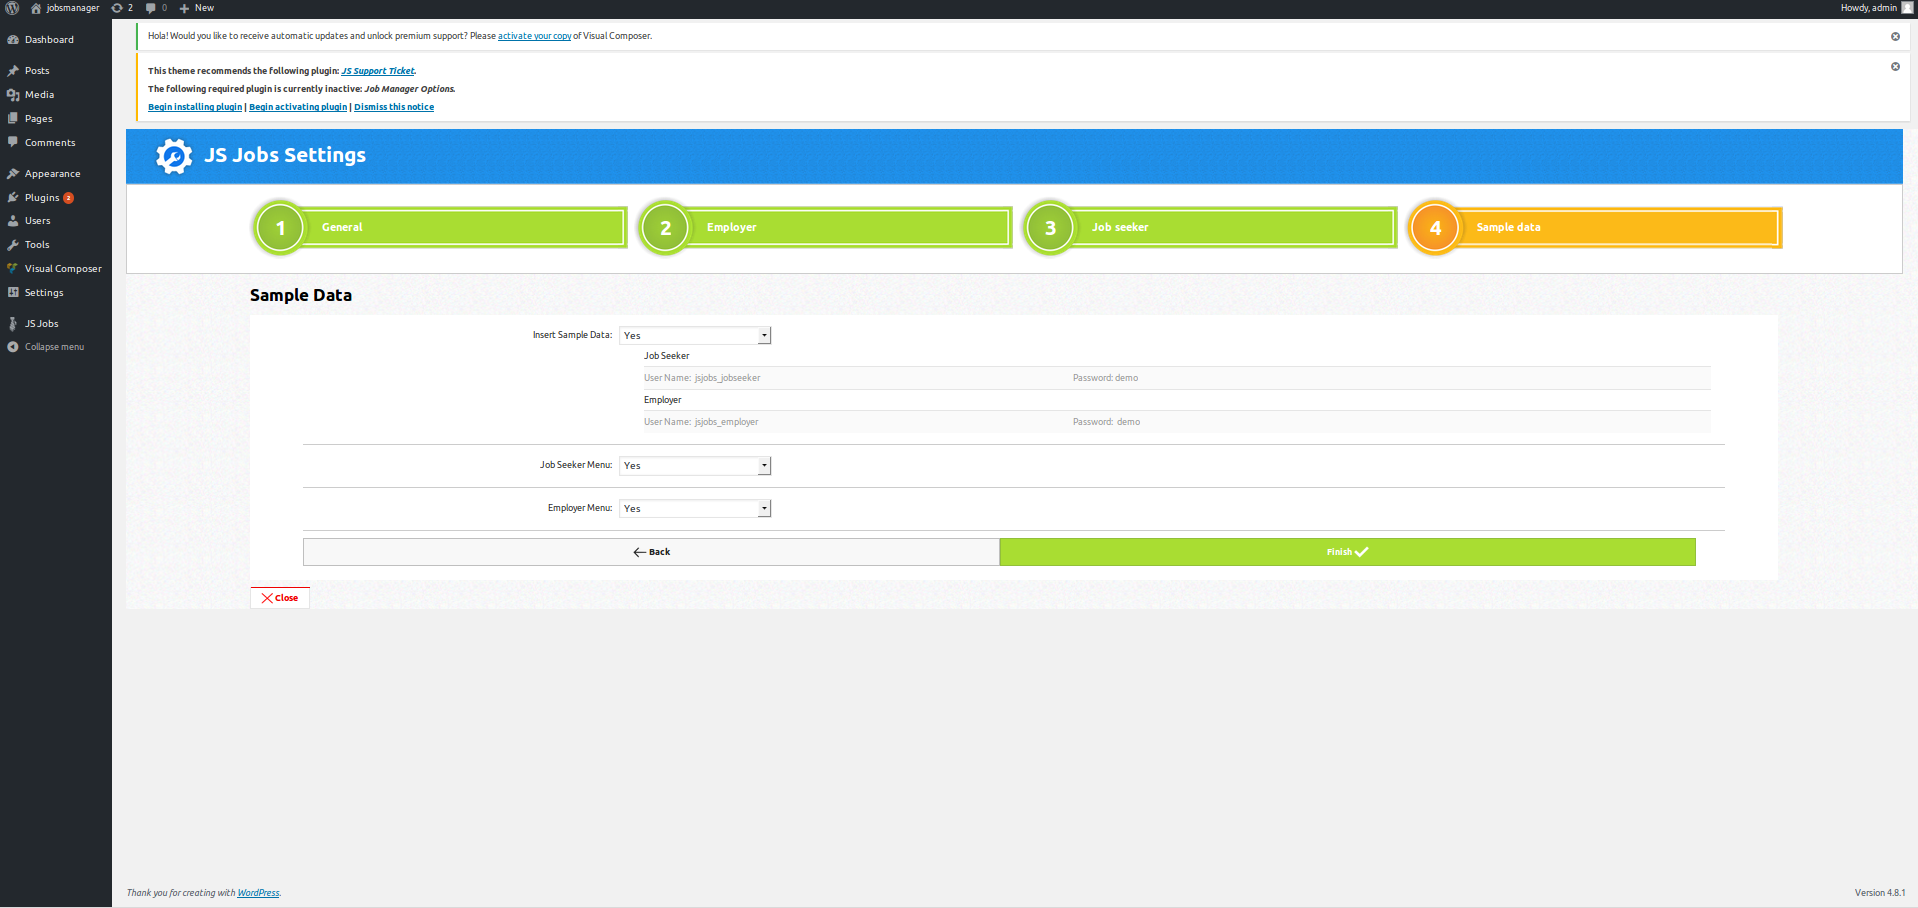
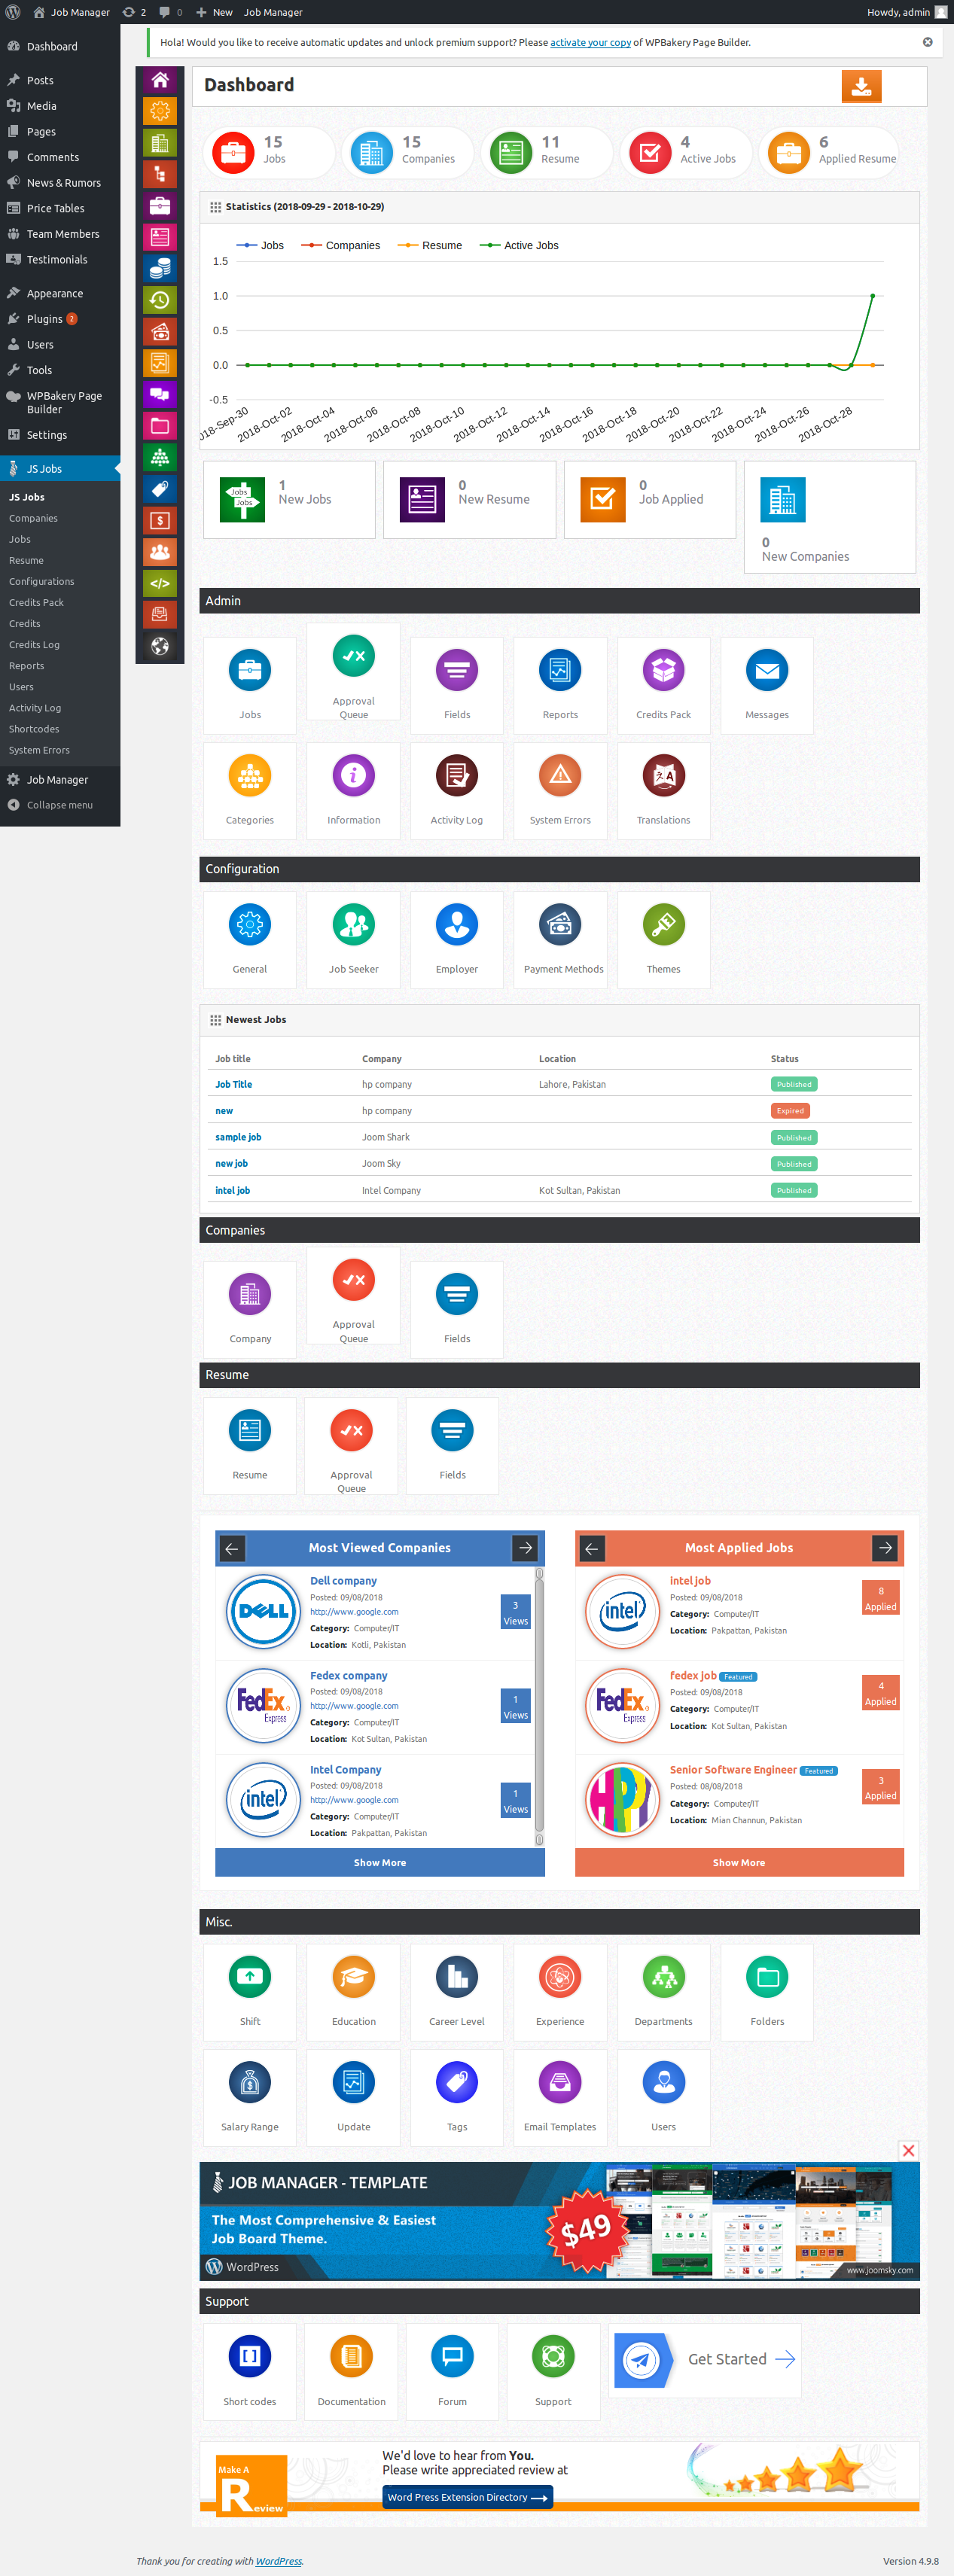
Congratulations! Your installation has been successfully completed! Welcome to the admin home page.
Found errors? Think you can improve this documentation? Simply click the Edit link at the top of the page, and then the icon on Github to make your changes.